Spam calls, unwanted text messages, and unknown callers can quickly become a nuisance. Many iPhone users block unwanted phone numbers to prevent further calls and messages. However, if you have blocked a large number of contacts, you may eventually see an error such as “Blocked Contacts Limit Reached” or “You have reached the maximum number of blocked contacts”. When this happens, your iPhone may prevent you from adding another phone number to your blocked contacts list.
Apple does not publicly specify a universal maximum number of blocked contacts for iPhone. The actual limit may depend on the iOS version, device, Apple Account, or how blocked contacts are synchronized. Some users have reported needing to reduce their blocked list to fewer than approximately 3,000 entries before they could block new numbers again, but this should not be treated as an official Apple limit.
In this guide, we'll explain why the iPhone blocked contacts limit is reached and show several ways to fix the “Blocked Contacts Limit Reached Maximum” error.
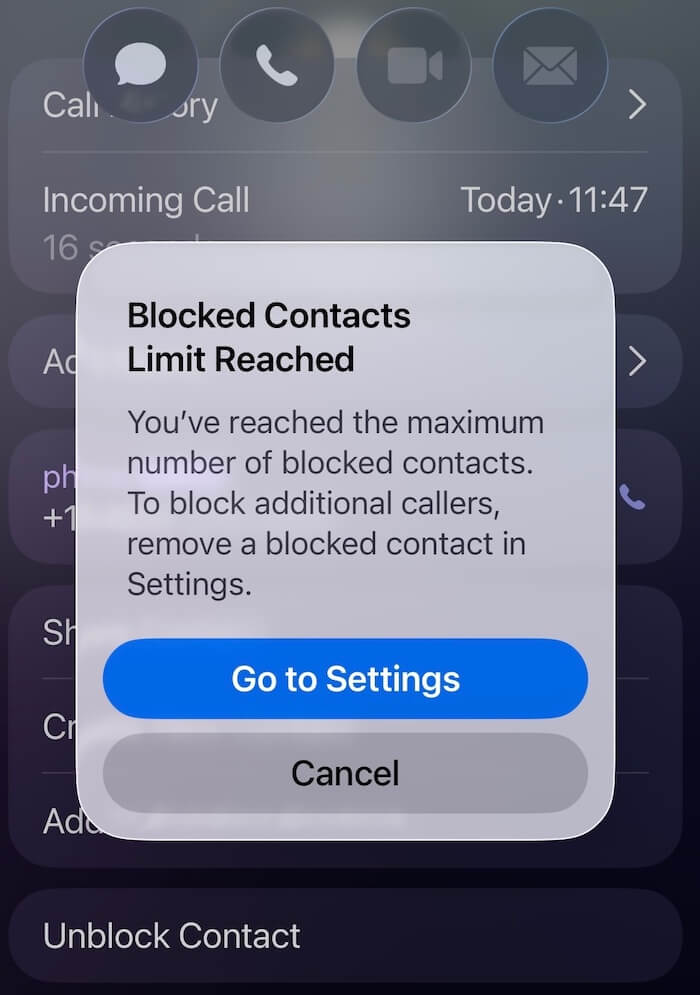
Why Does “Blocked Contacts Limit Reached” Happen on iPhone?
Your iPhone maintains a list of phone numbers and contacts that you have blocked. Blocked contacts can affect calls, Messages, and FaceTime, and blocking information may also be synchronized across your Apple devices.
If the blocked list reaches the maximum number supported by your current iOS configuration, you may no longer be able to block additional numbers. You may see the error when trying to block a number from: Phone, Messages, FaceTime, Contacts
The most direct solution is to remove old or unnecessary blocked numbers. If your list is not actually full, the problem may instead be related to an iCloud synchronization issue, an iOS software problem, or temporary system data.
How to Fix “Blocked Contacts Limit Reached Maximum” on iPhone
Your iPhone maintains a list of phone numbers and contacts that you have blocked. Blocked contacts can affect calls, Messages, and FaceTime, and blocking information may also be synchronized across your Apple devices.
1. Restart Your iPhone
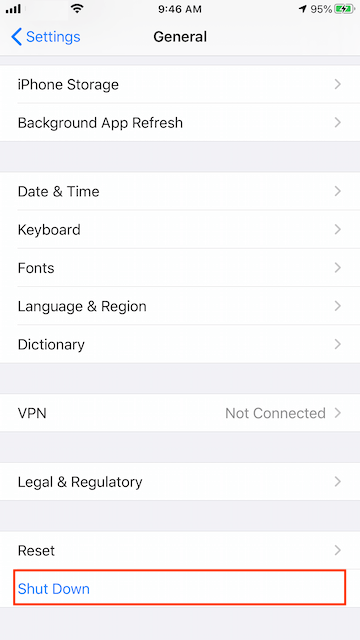
Before changing any settings, restart your iPhone. A temporary iOS or synchronization problem may prevent the blocked contacts list from updating correctly.
To restart your iPhone: Turn off your iPhone. Wait a few seconds. Turn it back on. Try blocking the phone number again.
If the error disappears after restarting, the problem may have been temporary.
2. Check iCloud Contact Synchronization
If your contacts are synchronized through iCloud, a synchronization problem could potentially prevent your blocked contacts information from updating correctly. You can check your iCloud Contacts settings:
Open Settings. Tap [Your Name] > iCloud. Tap Show All if necessary. Select Contacts. Check whether Contacts synchronization is enabled.
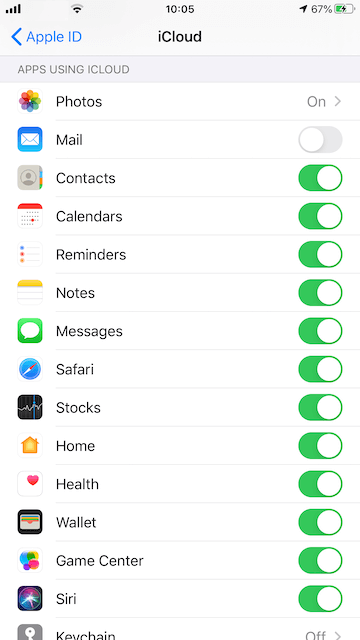
If you suspect an iCloud synchronization problem, you can temporarily turn Contacts synchronization off and then turn it back on. Before changing iCloud synchronization settings, make sure your important contacts are safely stored or backed up.
3. Remove Old Blocked Contacts
If you have accumulated hundreds or thousands of blocked numbers, removing unnecessary entries is the most straightforward solution. Depending on your iOS version, you can find your blocked contacts under:
Settings > Privacy & Security > Blocked Contacts or through the relevant Phone, Messages, or FaceTime settings.
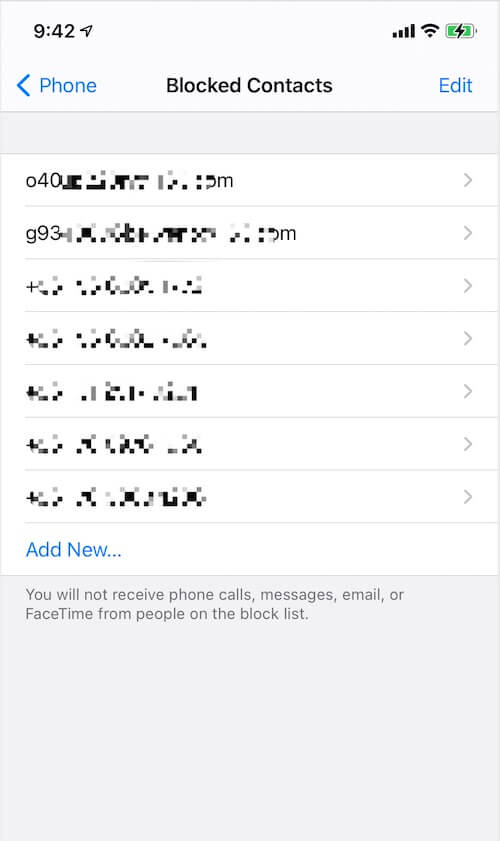
Then: Open the Blocked Contacts list. Review your blocked phone numbers and contacts. Remove numbers you no longer need to block.
Prioritize old, inactive, or duplicate entries. Try blocking the new number again.
If your blocked list is very large, you may need to remove a significant number of entries before iOS allows you to add another one. Some users have reported that reducing the list to below approximately 3,000 blocked numbers resolved the problem. However, the exact threshold is not officially documented by Apple and may vary.
4. Check for Duplicate or Unnecessary Blocked Numbers
A long blocked list can become difficult to manage. You may have blocked the same person or spam caller more than once under different contact entries or phone numbers.
Review your list and remove: Old phone numbers. Numbers that are no longer active. Duplicate contacts. Numbers you no longer need to block. Temporary spam numbers that are unlikely to contact you again
Keeping your blocked list smaller can make it easier to manage unwanted callers without reaching the system limit.
5. Use “Silence Unknown Callers” Instead of Blocking Every Number
If you are blocking large numbers of unknown callers, you may not need to add every spam number individually to your blocked contacts list.
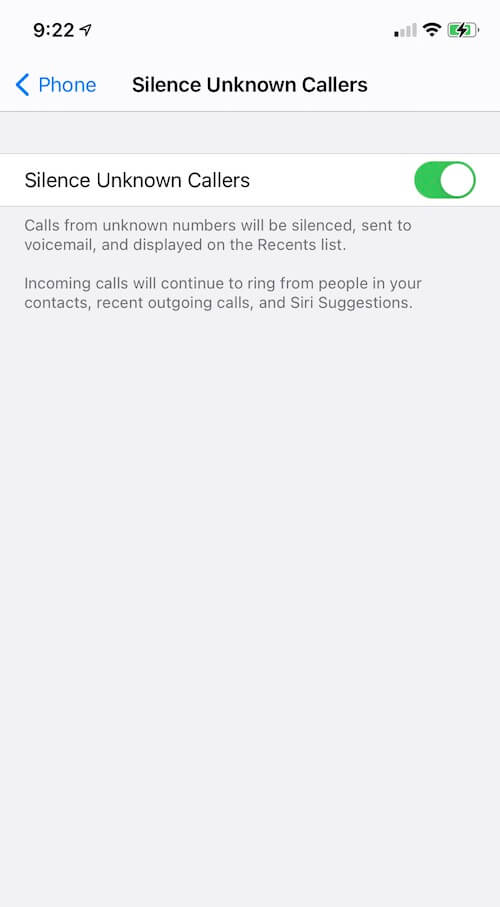
The iPhone provides a Silence Unknown Callers feature that can reduce interruptions from people who are not in your contacts. Depending on your iOS version, you can find it under: Settings > Apps > Phone > Silence Unknown Callers
When enabled, calls from unknown numbers can be silenced and sent to voicemail instead of ringing normally. They can still appear in your call history. This approach can be especially useful if you receive frequent calls from constantly changing spam numbers.
6. Use Your Carrier's Spam Protection
Many mobile carriers provide their own spam-call detection and blocking services.
Depending on your carrier and region, available services may include features for: Spam-call detection. Scam-call warnings. Automatic call filtering. Caller identification.Suspicious-number blocking
Check your carrier's official website or mobile app to see which features are available for your phone number. Carrier-level filtering can be useful when you receive a large volume of spam calls because it does not require you to manually add every unwanted number to your iPhone's blocked contacts list.
7. Use a Call-Blocking App
Third-party caller-identification and spam-filtering apps can provide another layer of protection against unwanted calls.
Some apps maintain their own databases of known spam and scam numbers and can identify suspicious calls before you answer them.
On iPhone, supported call-identification services can generally be managed through: Settings > Apps > Phone > Call Blocking & Identification
Only install apps from developers you trust, and review the permissions and privacy information before enabling a call-identification service.
8. Update iOS
An outdated version of iOS may contain bugs that affect Phone, Messages, Contacts, or iCloud synchronization.
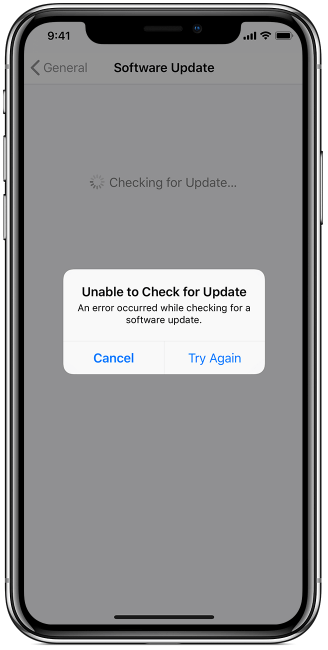
To check for an iOS update: Open Settings. Go to General > Software Update. Install an available update. Restart your iPhone. Try blocking the number again.
Keeping your iPhone updated can also help resolve other call-blocking and spam-filtering problems.
Conclusion
The “Blocked Contacts Limit Reached” or “You have reached the maximum number of blocked contacts” message usually means that your iPhone has reached the capacity of its blocked contacts list, although synchronization or software problems can sometimes contribute to the issue.
The simplest solution is to remove old or unnecessary blocked numbers and then try blocking the new number again. If that does not work, restart your iPhone, check iCloud synchronization, update iOS, and consider using Silence Unknown Callers, message filtering, carrier spam protection, or a trusted call-blocking service.
If you regularly receive a large number of spam calls, relying on a combination of filtering and spam-detection features can be more practical than manually blocking every unwanted number.
| More Related Articles | ||||
 |
1. How to Edit Audio and MP3 Metadata on iPhone? 2. How to Rename Photos on iPhone Without a Computer? |
|||
About Fireebok Studio
Our article content is to provide solutions to solve the technical issue when we are using iPhone, macOS, WhatsApp and more. If you are interested in the content, you can subscribe to us. And We also develop some high quality applications to provide fully integrated solutions to handle more complex problems. They are free trials and you can access download center to download them at any time.
| Popular Articles & Tips You May Like | ||||
 |
 |
 |
||
| Five ways to recover lost iPhone data | How to reduce WhatsApp storage on iPhone | How to Clean up Your iOS and Boost Your Device's Performance | ||