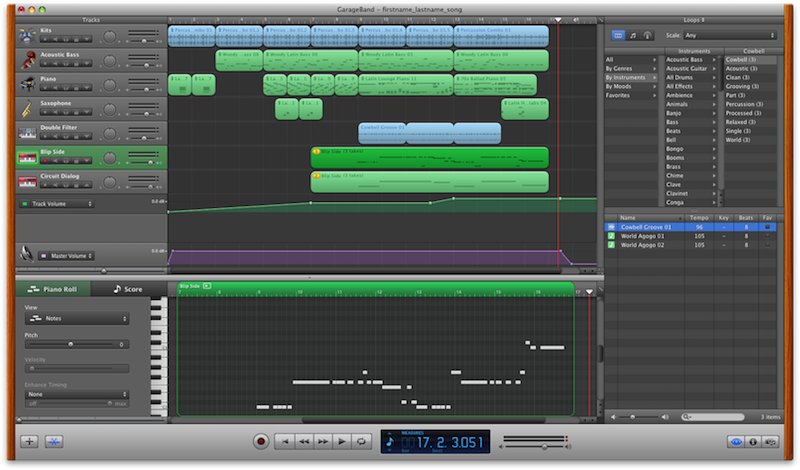
GarageBand can record songs, make beats, publish podcasts, share MP3s. It is a line of digital audio workstations for macOS and iOS that allows users to create music or podcasts, and it's very popular with music producers and filmmakers.

GarageBand is a great program for recording music or narrations, you can record yourself singing or narrating something. You can also use the editing capabilities and timeline display to make ringtones from songs your already own or even edit the parts that you don't like. It's so great because it allows you to digital audio cassettes, albeit a more involved process than importing a CD, thought the end result is pretty much the same. Created project will be saved as .band file format.
The GarageBand project file is not a single file, but a directory. It contains a lot of configuration files, media files and directories. You can right click "Show Package Contents" in Finder to access them.

If the important garageband project file was accidentally deleted on your Mac computer, how to recover them?
Don't worry. Fireebok Data Recovery will recover them on your computer. It allows you to recover lost photos, videos, audio, archives, emails, documents including garageband files. What's more, you can use it to scan and recover lost data from most storage devices and SD card, not only the Mac hard drive. Now, download the trial version below for free to have a try by yourself. Restore the deleted garageband project file in a few steps.

- Data Recovery
Recover Mac data lost due to accidental deleting, formatting, virus infection,
and other unknown reasons.
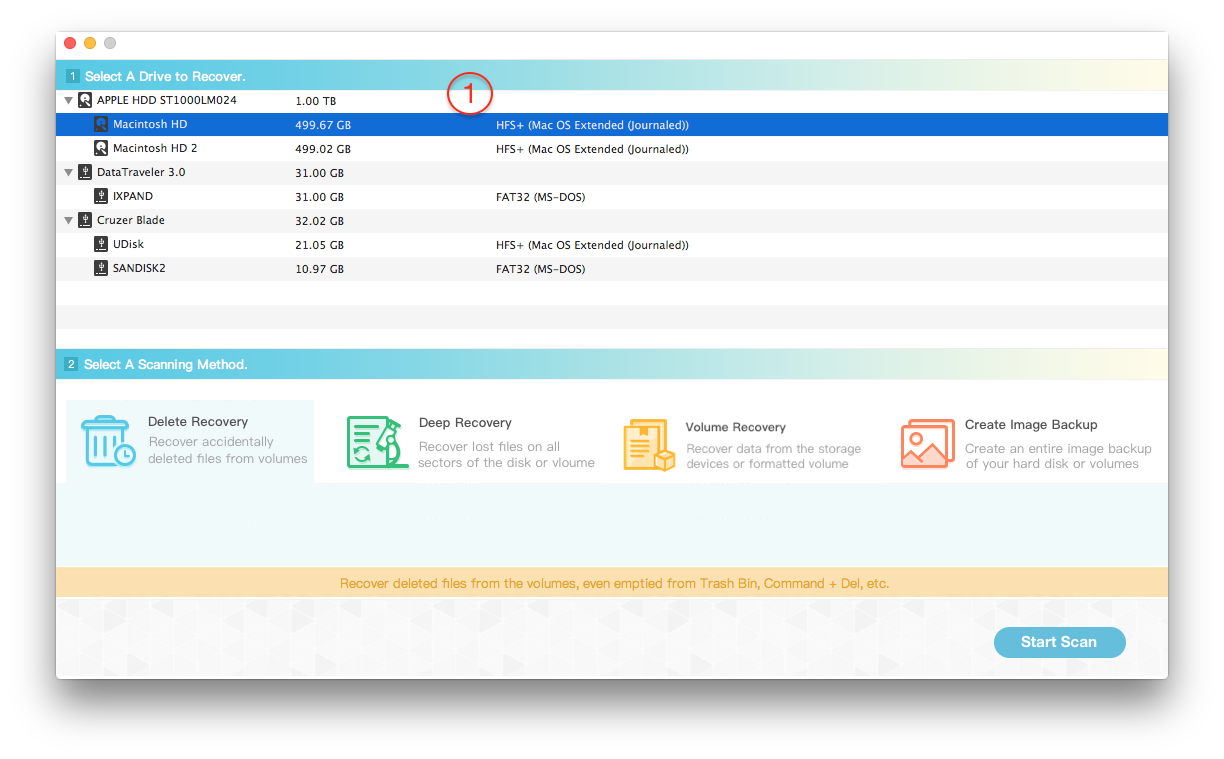
Step 1. Run Fireebok Data Recovery on your Mac
When you run this data recovery software, you’ll see the main window as follows. After accessing the recover mode, you’ll see a list partition or hard drives on this main window. And the external hard drives and devices will also be listed and displayed there. Just select the source partition where you lost and click Scan to process. You can see three options to choose. Just choose the right one as the description according to your deleted situation.

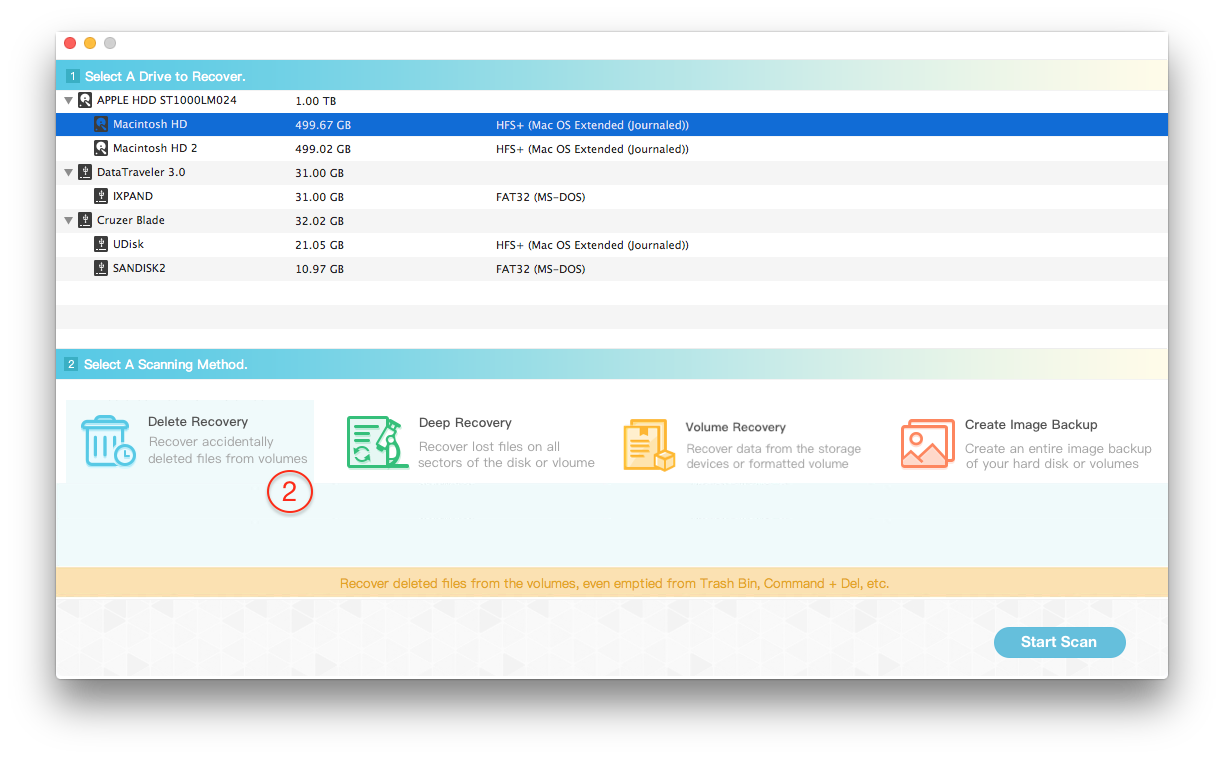
Step 2. Select the recovery mode.
You can see five recovery modes to choose. Just choose the right one as the description according to your deleted situation. Then click Start Scan to process.

Step 3. Preview and select them to save to your computer
The scan will take you a little while. After that you'll get a scan result where all recoverable data on your computer are found and displayed. Then the deleted garageband files will be listed as a directory not a file. Just select the directory and save them to your computer by clicking the Recover button on the bottom of the window.

About Fireebok Studio
Our article content is to provide solutions to solve the technical issue when we are using iPhone, macOS, WhatsApp and more. If you are interested in the content, you can subscribe to us. And We also develop some high quality applications to provide fully integrated solutions to handle more complex problems. They are free trials and you can access download center to download them at any time.


