Some Mac users have reported issues after updating to macOS Tahoe 26. During the upgrade, some find their Mac storage nearly full, causing the system to freeze at “2 minutes remaining” for up to 30 minutes. After the update is finally complete, they discover that important files and folders are missing or deleted — and they can’t find them anywhere.
So, is there a way to recover lost or deleted data in macOS Tahoe 26? Yes! If you are experiencing data loss after upgrading to macOS Tahoe 26, don’t worry. In this guide, we’ll walk you through several methods to restore your files.
1. Restore From a Time Machine Backup
If you set up Time Machine before the update, you can easily restore your lost files:
1. Connect the external drive containing your Time Machine backups.
2. Click the Time Machine icon in the menu bar and choose Enter Time Machine.
3. Select the backup date you want to restore from. Navigate through the backup to find the missing files or folders.
4. Select the items and click Restore.
This method is the fastest way to recover files if you regularly back up with Time Machine.
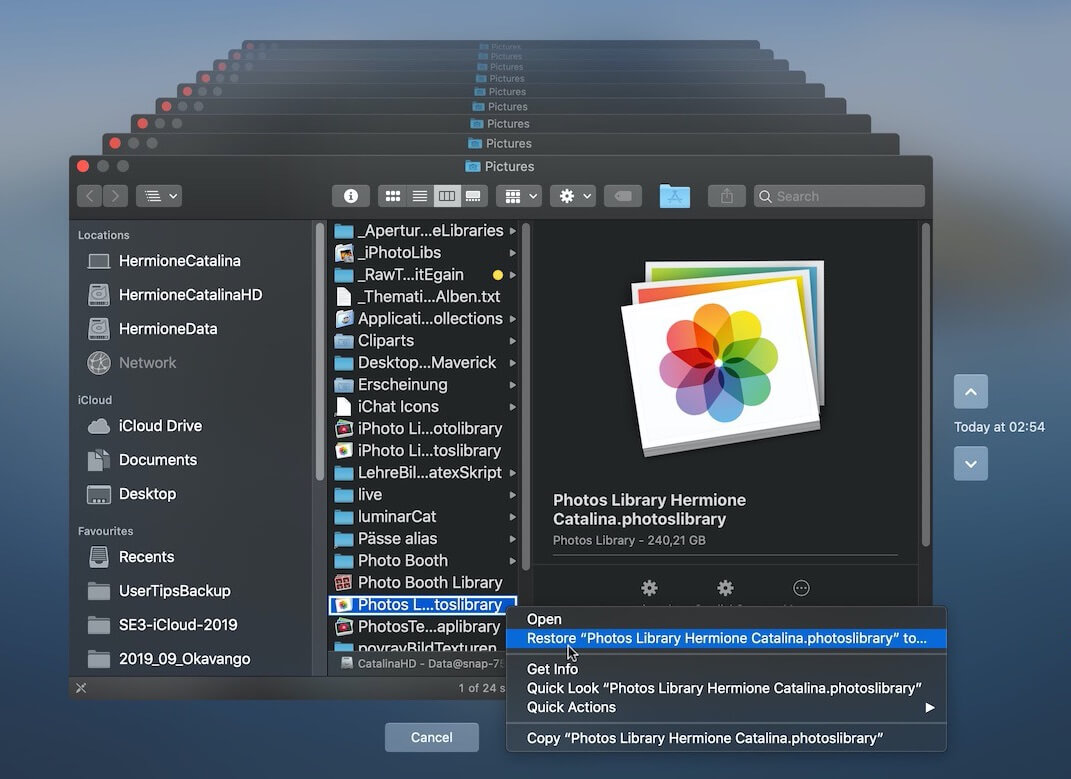
2. Check iCloud Drive for Synced Data
If you had iCloud enabled on your Mac, some of your files may already be saved online. iCloud syncs not only your photos, contacts, messages, and notes, but also files stored in your Desktop and Documents folders.
Here’s how to check:
1. Go to www.icloud.com and sign in with your Apple ID.
2. Browse through iCloud Drive and other apps like Photos, Notes, or Messages. If your missing files are available, download them directly or sync them back to your Mac.

3. Recover Data With a Third-Party Tool
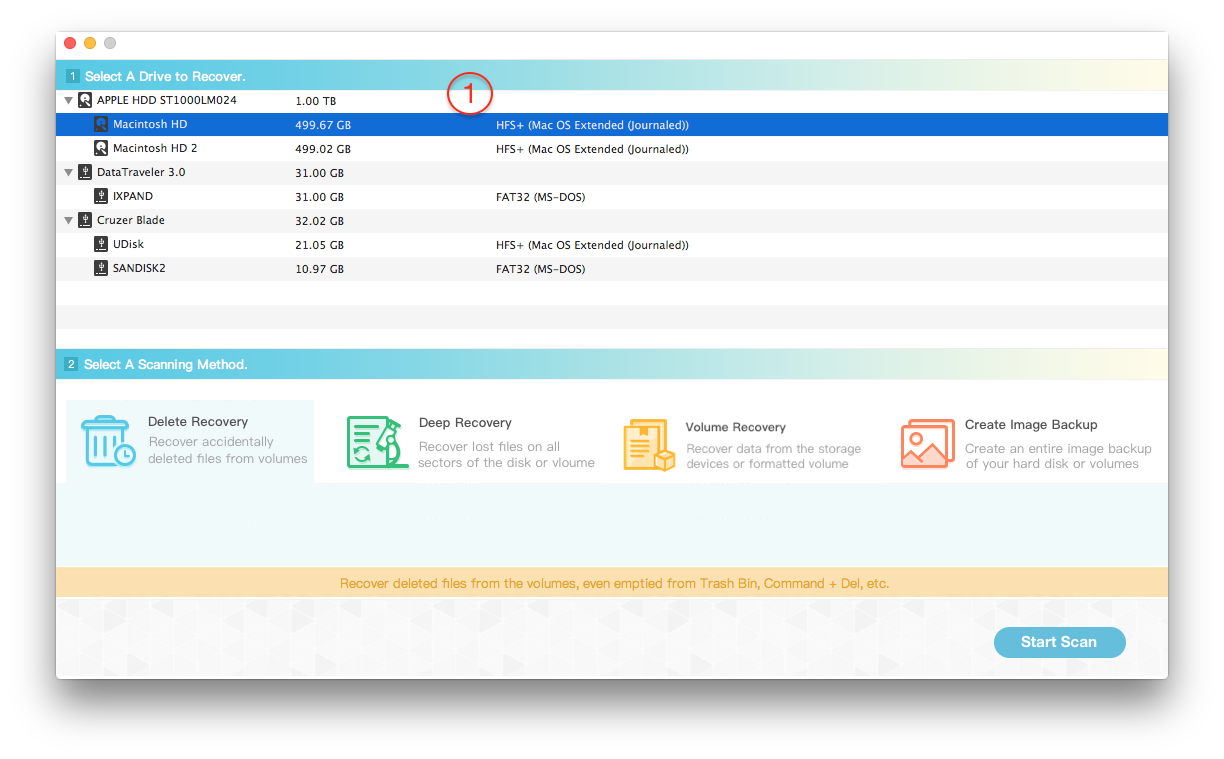
If your files are not available in Time Machine or iCloud, you can still attempt recovery directly from your Mac’s disk. A professional data recovery tool like Fireebok Data Recovery supports macOS Tahoe 26 and can help restore deleted or lost files.
Steps to use Fireebok Data Recovery:
1. Download and install Fireebok Data Recovery on your Mac.
2. Launch the app and select your Mac disk. Choose a recovery mode (Quick Scan or Deep Scan) and click Start Scan.
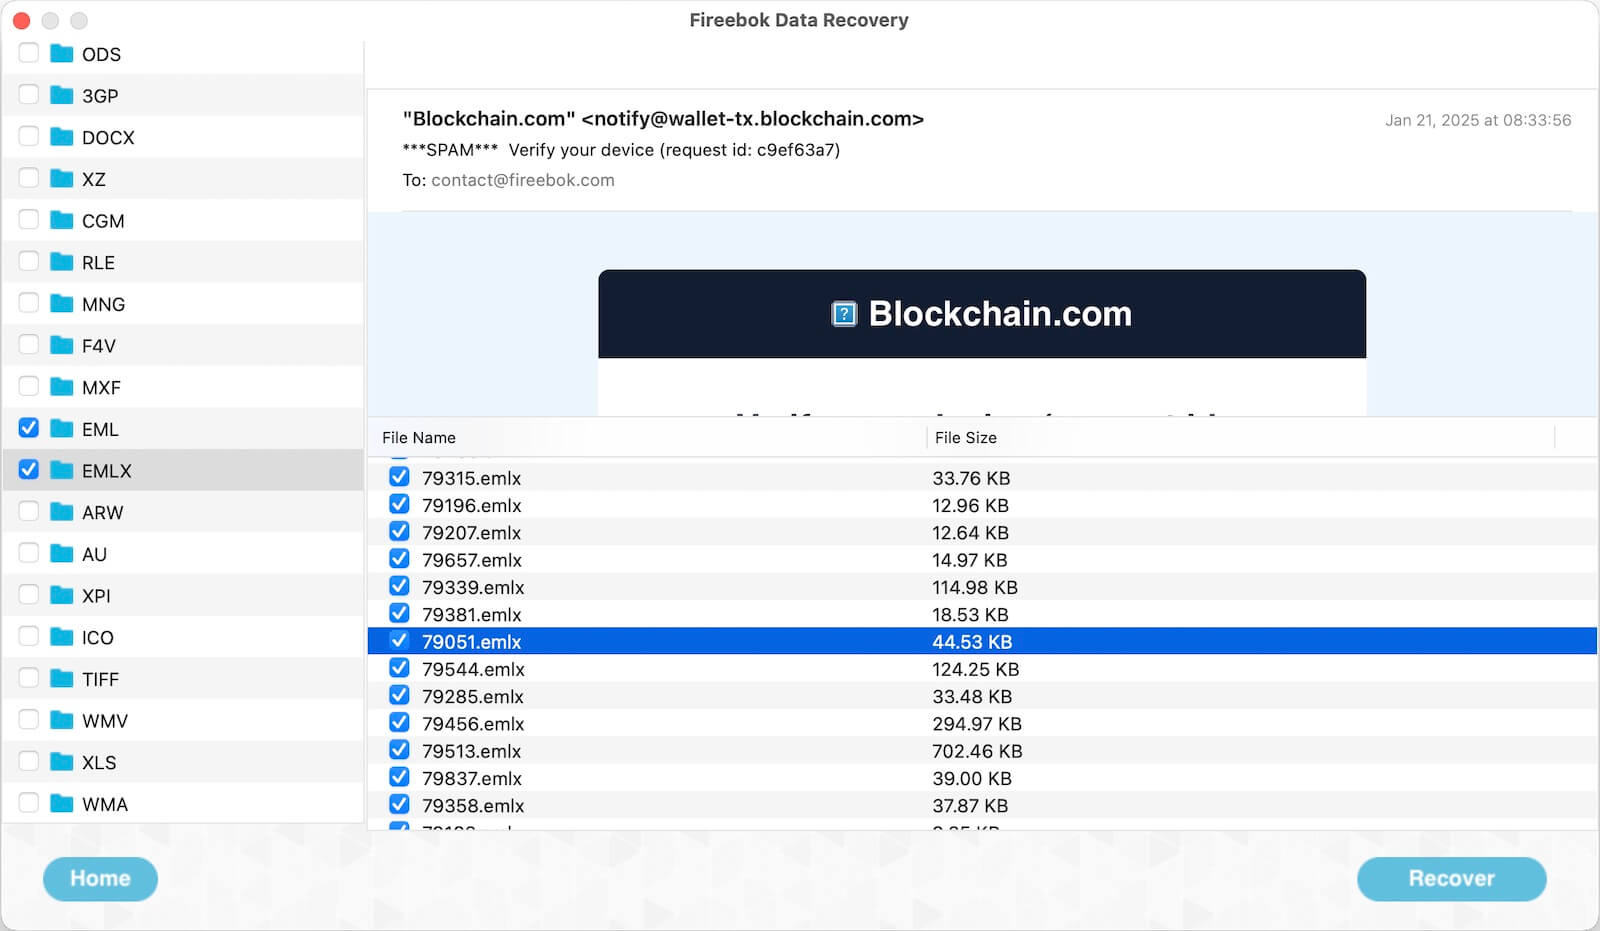
3. Wait for the scan to complete. All found files will be organized by file type. Preview the files to confirm they are recoverable.
4. Select the ones you need and click Recover to save them.
Final Thoughts
Data loss after updating to macOS Tahoe 26 can be stressful, but you still have multiple options. Start with Time Machine or iCloud, and if those don’t work, use a reliable third-party tool like Fireebok Data Recovery to restore your files. By following these steps, you can recover your valuable data and continue using your Mac without worry.

About Fireebok Studio
Our article content is to provide solutions to solve the technical issue when we are using iPhone, macOS, WhatsApp and more. If you are interested in the content, you can subscribe to us. And We also develop some high quality applications to provide fully integrated solutions to handle more complex problems. They are free trials and you can access download center to download them at any time.
| Popular Articles & Tips You May Like | ||||
 |
 |
 |
||
| Five ways to recover lost iPhone data | How to reduce WhatsApp storage on iPhone | How to Clean up Your iOS and Boost Your Device's Performance | ||