Older iPhone models used to have fixed storage and did not support external storage devices. But starting with iOS 13 and later, iPhones gained support for connecting external storage such as USB flash drives, SD card readers, and portable SSDs through a Lightning connector or USB-C port.
This means that uploading photos to iCloud or transferring them through a computer is no longer the only way to expand your iPhone’s storage. If your iPhone is running out of space because of thousands of photos and videos, this guide will show you how to export photos from your iPhone to a flash drive without using a computer, step by step.
What You Need to Prepare
1. Compatible iPhone Model:
For iPhone 14, SE, and earlier:
You need an adapter such as: Lightning to USB Adapter, Lightning to USB 3 Camera Adapter, Lightning SD Card Reader

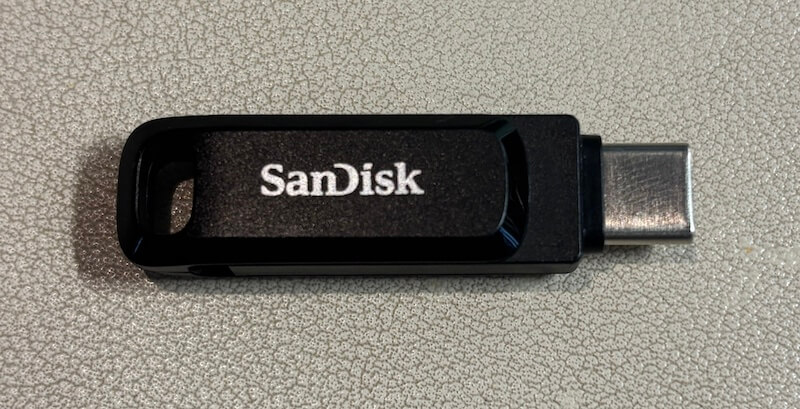
For iPhone 15 and later (USB-C models):
You can directly connect a USB-C flash drive or USB-C external storage device.
Using USB-C storage on Lightning iPhones:
You can use an Apple Lightning to USB 3 Camera Adapter to connect some USB-C devices, depending on power requirements.
2. Supported File System Formats
Your flash drive or external storage must use one of the iPhone-supported file systems: exFAT (recommended for large files), FAT32, HFS+, APFS. If your drive uses NTFS, it will not work.
3. Power Requirements for Larger Drives
If you are using: A portable HDD, A large external SSD, Any high-power storage device.
You may need: A powered USB hub, or The Lightning to USB 3 Camera Adapter with external power connected. This is because iPhones cannot provide enough power for large drives.
1. View Flash Drives / External Drives on iPhone
1. Connect your flash drive or external drive to the iPhone.
2. Open the Files app → Browse → Locations. Tap the name of your flash drive under Locations to open it.

If the drive does not appear:
• Unplug and reconnect the drive
• Wait a few seconds for the Files app to detect it
• Make sure your adapter is fully inserted
2. Export Photos from iPhone to a Flash Drive / External Drive
Before iOS 13, transferring iPhone photos required a computer or iCloud. However, iCloud storage requires monthly fees, and you may not always have a computer with you—especially while traveling. Now you can export photos directly to a flash drive without a computer.
Method A: Export Photos Using the Files App (Manual Method)
1. Make sure your flash drive appears in Files → Browse → Locations.
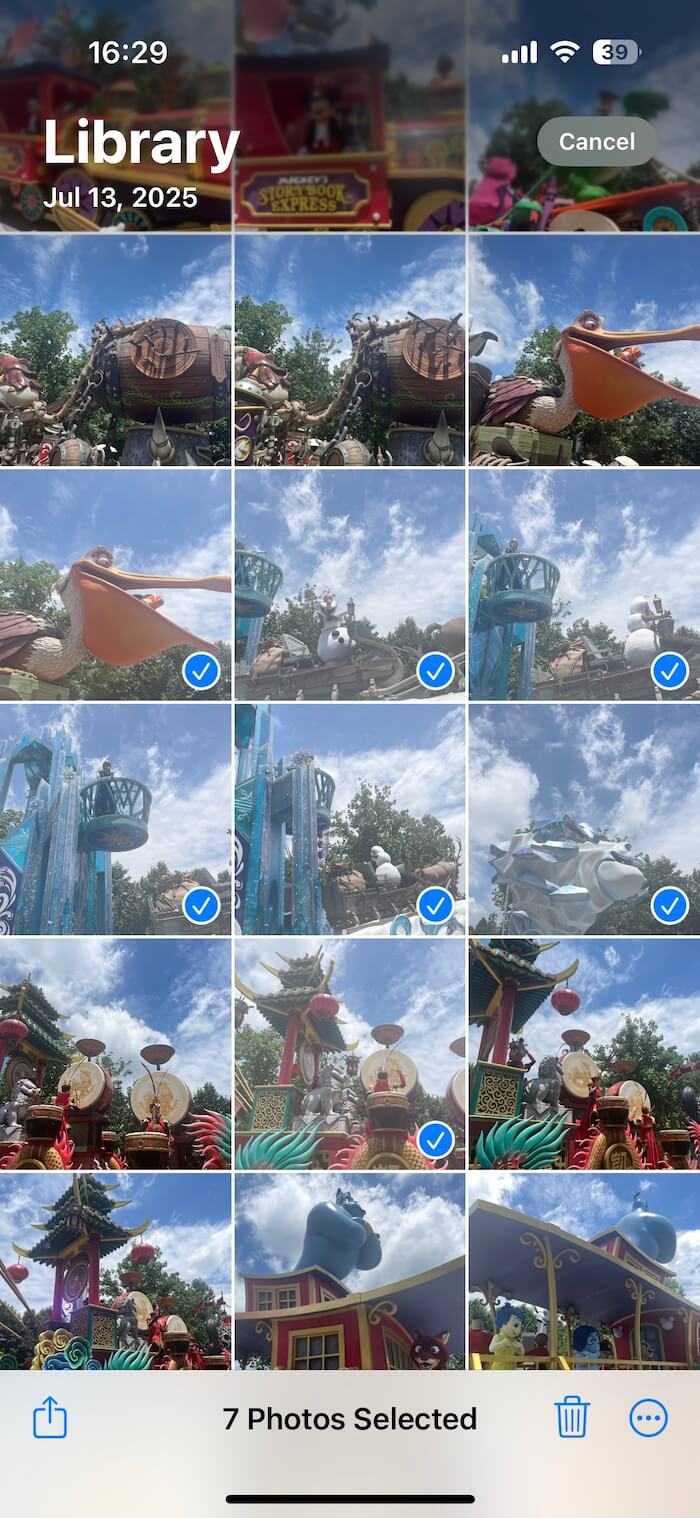
2. Open the Photos app. Tap Select and choose the photos and videos you want.
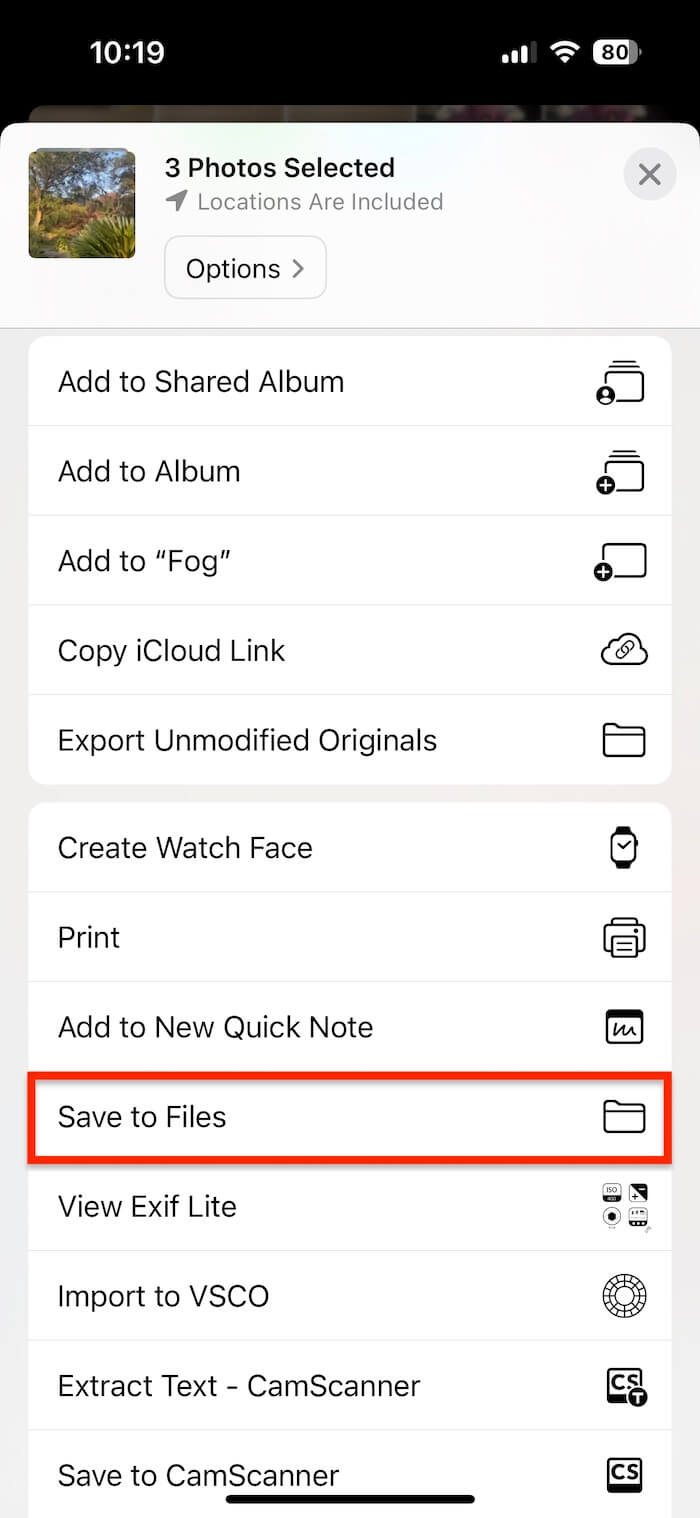
3. Tap Share → Save to Files. Choose your flash drive under Browse → Locations. Tap Save to export your photos and videos.
This method works, but selecting a large number of photos manually is time-consuming.
Method B: Export Photos Using PhotosDrive (Best for Large Albums)
If you have thousands of photos and don’t want to select them one by one, the PhotosDrive app makes the process much easier. PhotosDrive features: Batch export entire photo albums, Export photos and videos in original quality, Download originals from iCloud Photos, Preserve full photo metadata, Custom file naming, Fast and stable large exports. Steps:
1. Install PhotosDrive from the App Store on your iPhone.
2. Connect your flash drive or external storage device to the iPhone.
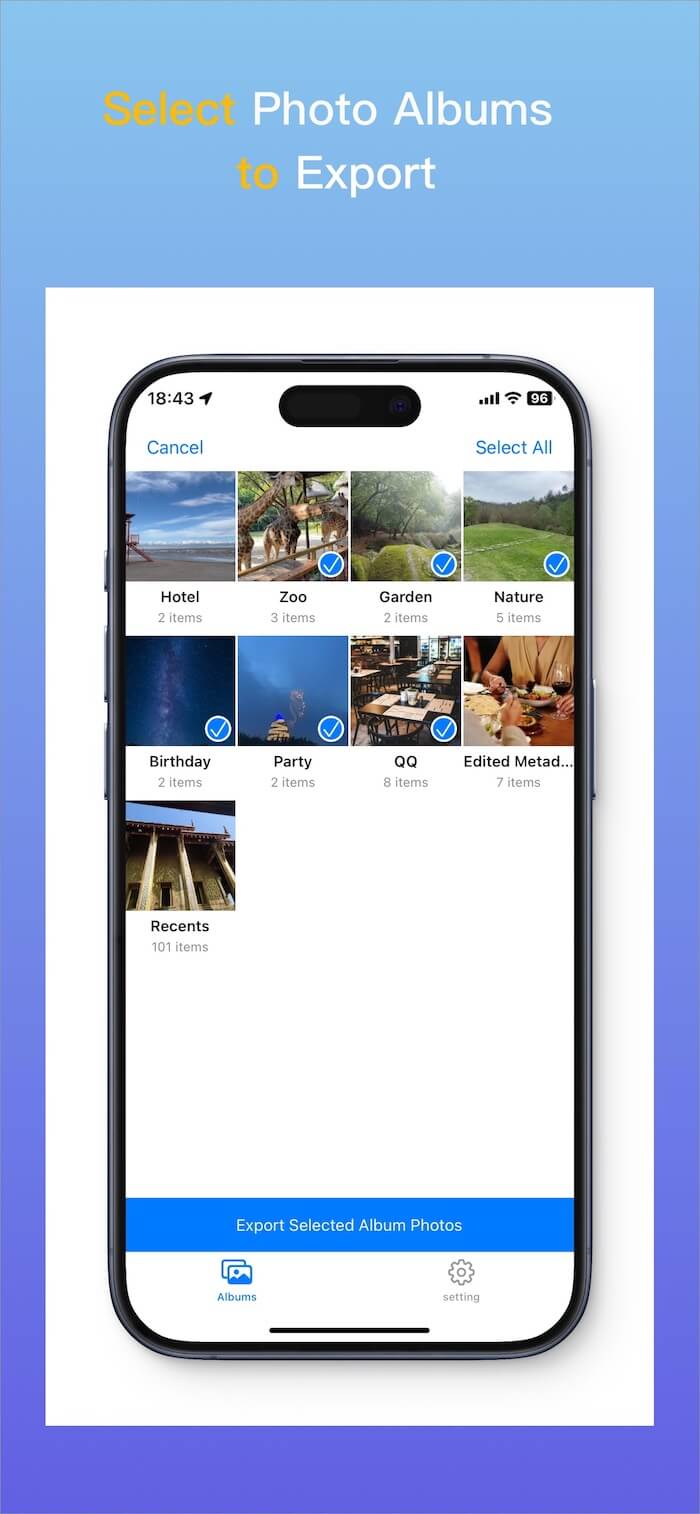
3. Open PhotosDrive. Tap Select and choose the photo album you want to export. Tap Export Selected Photo Album.
4. Choose your flash drive under Browse → Locations. Tap Open and Wait for the export to finish.

Final Thoughts
Exporting photos and videos from your iPhone to a flash drive without a computer is an excellent way to:
• Free up storage space
• Back up your media
• Store photos securely during travel
• Avoid paying monthly iCloud fees
Once your photos and videos are successfully exported, you can safely delete them from your iPhone to reclaim storage space.
| More Related Articles | ||||
 |
1. How to View and Remove Video Metadata on iPhone? 2. How to Fix Photos Showing the Incorrect Date on iPhone? |
|||
About Fireebok Studio
Our article content is to provide solutions to solve the technical issue when we are using iPhone, macOS, WhatsApp and more. If you are interested in the content, you can subscribe to us. And We also develop some high quality applications to provide fully integrated solutions to handle more complex problems. They are free trials and you can access download center to download them at any time.
| Popular Articles & Tips You May Like | ||||
 |
 |
 |
||
| Five ways to recover lost iPhone data | How to reduce WhatsApp storage on iPhone | How to Clean up Your iOS and Boost Your Device's Performance | ||