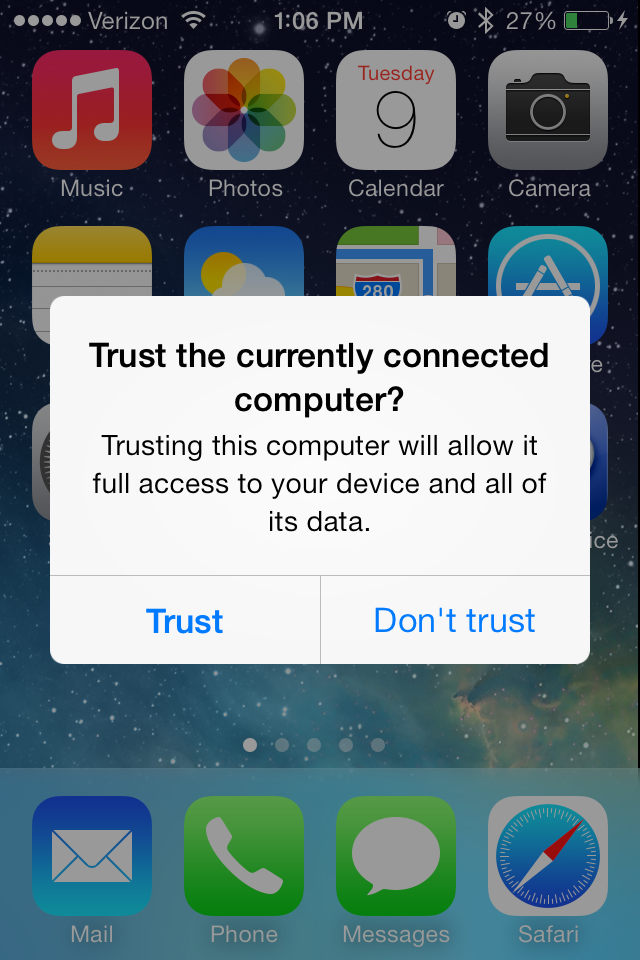
When you connect iPhone with your computer at the first time above iOS 7.0 version, you need "trust this computer" on iPhone. If you select Trust, the computer will be trusted indefinitely. And this computer will be listed in your iPhone trust list, an iPhone only supports 5 different computers. But if you select Don't Trust by mistake or your iPhone has authorized five computers before, your iPhone will be not recognized by the computer.
So how to remove or cancel the trusted computer on iPhone, there are two solutions.
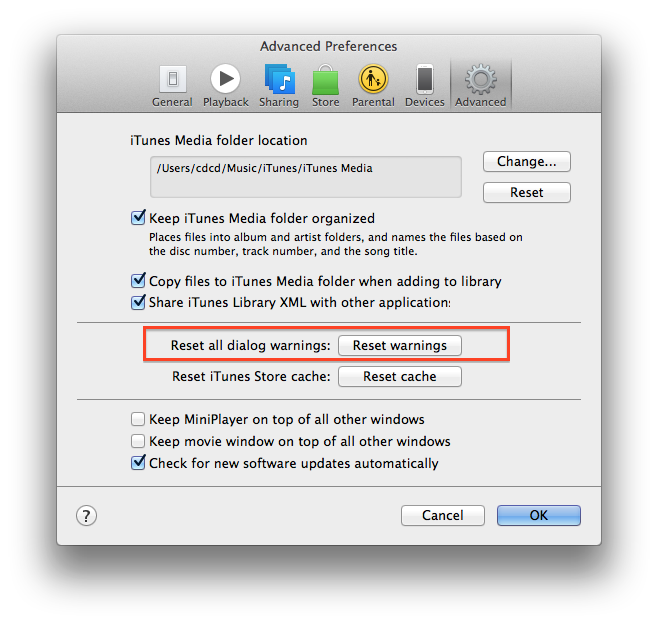
1. Reset iTunes Alert setting
Open your iTunes and enter Preferences window, select "Advanced Preferences" section and click "Reset warnings" button. It only work for removing the trusted information for this single computer.
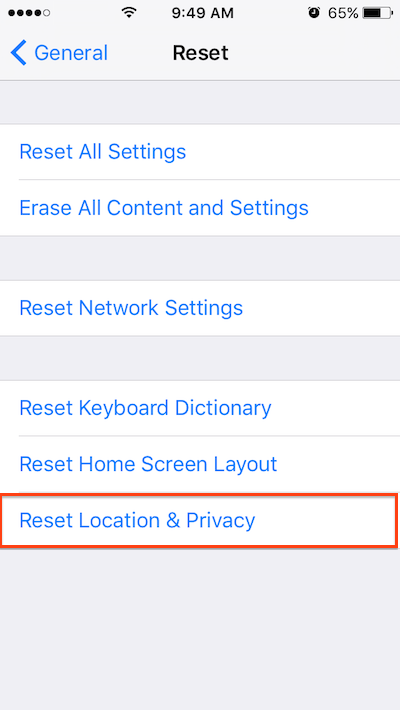
2. Reset all trusted state on iPhone
Open your iPhone->Settings->General->Reset->Reset Location & Privacy, it will cancel all the trust about your iPhone.
About Fireebok Studio
Our article content is to provide solutions to solve the technical issue when we are using iPhone, macOS, WhatsApp and more. If you are interested in the content, you can subscribe to us. And We also develop some high quality applications to provide fully integrated solutions to handle more complex problems. They are free trials and you can access download center to download them at any time.
You May Also Like
How to Clean up Your iOS and Boost Your Device's Performance
How to Extract WhatsApp Messages from Your iCloud Backup
How to Recover Deleted Text Messages from Your iPhone