Numerous Mac users have reported the unfortunate loss of files and documents from their desktops after updating to macOS Sonoma and Ventura. Despite diligent searches in Time Machine and iCloud, some individuals are still unable to locate their valuable files. In such instances, it becomes crucial to explore effective methods for recovering lost files and documents in macOS Ventura or macOS Sonoma.
1. Check Mac Trash
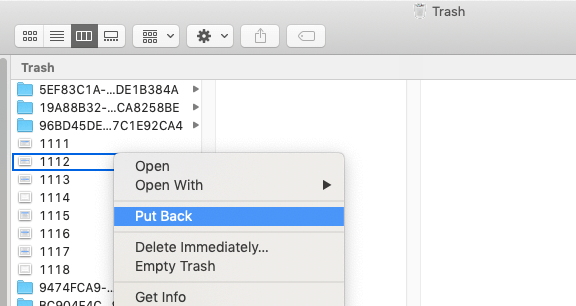
Begin your recovery process by thoroughly examining the Mac Trash. Sometimes, files might be unintentionally moved to the Trash during the update. If you find them in the trash, restore them to their original location by Put Back feature.
2. Check Application Cache Files
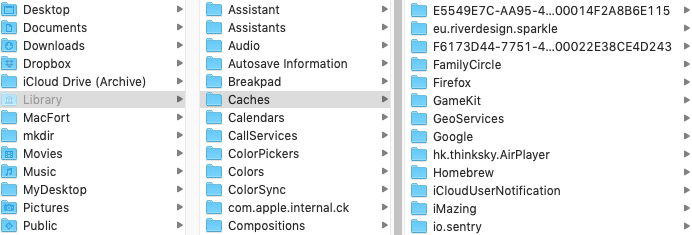
In some cases, the cache files of some document applications may store copies of documents. Navigate to the cache folders associated with your applications and inspect them for any remnants of the lost files. Copying these files back to their original directories could successfully recover them.
3. Check iCloud archive
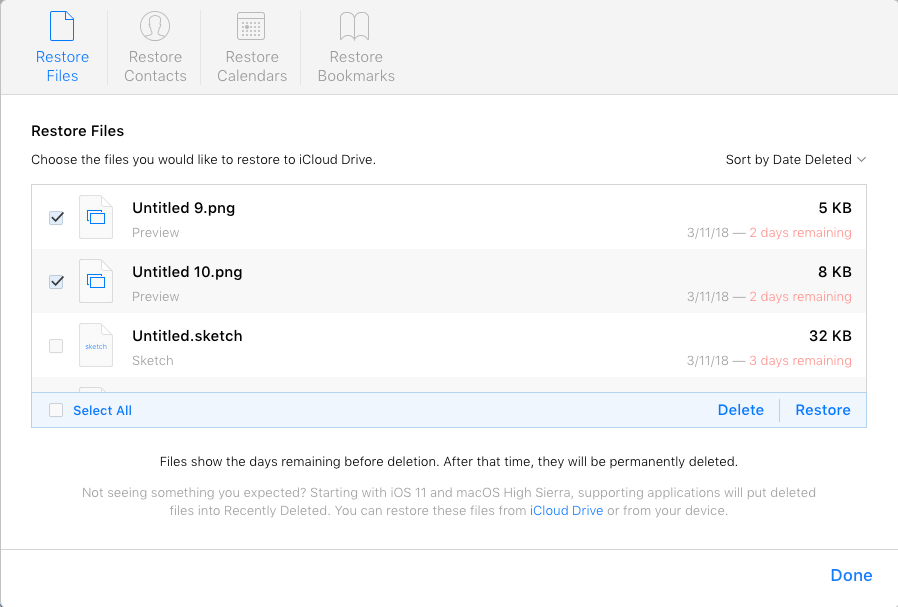
Verify your iCloud Drive and archives to ensure the lost files aren't stored there. It's possible that the synchronization process during the update led to the files being temporarily moved to iCloud. Go to www.icloud.com webpage and login with your Apple ID for any archived files.
4. Recover with Data Recovery
When traditional methods fall short, consider using a dedicated data recovery tool - Fireebok Data Recovery. It specializes in retrieving lost files from various storage locations, including hard drives and external devices. And it's compatible with macOS Ventura or Sonoma, and follow the following instructions to initiate the recovery process. Download and install Fireebok Data Recovery app on your Mac.
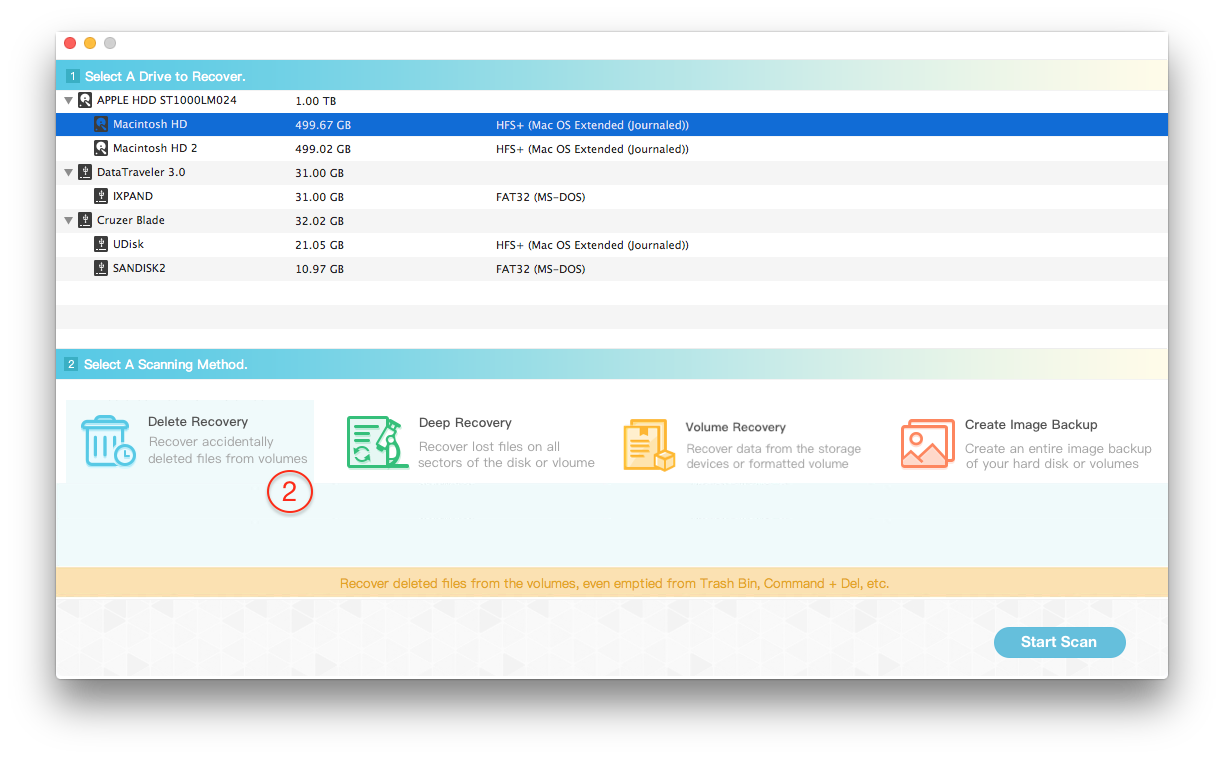
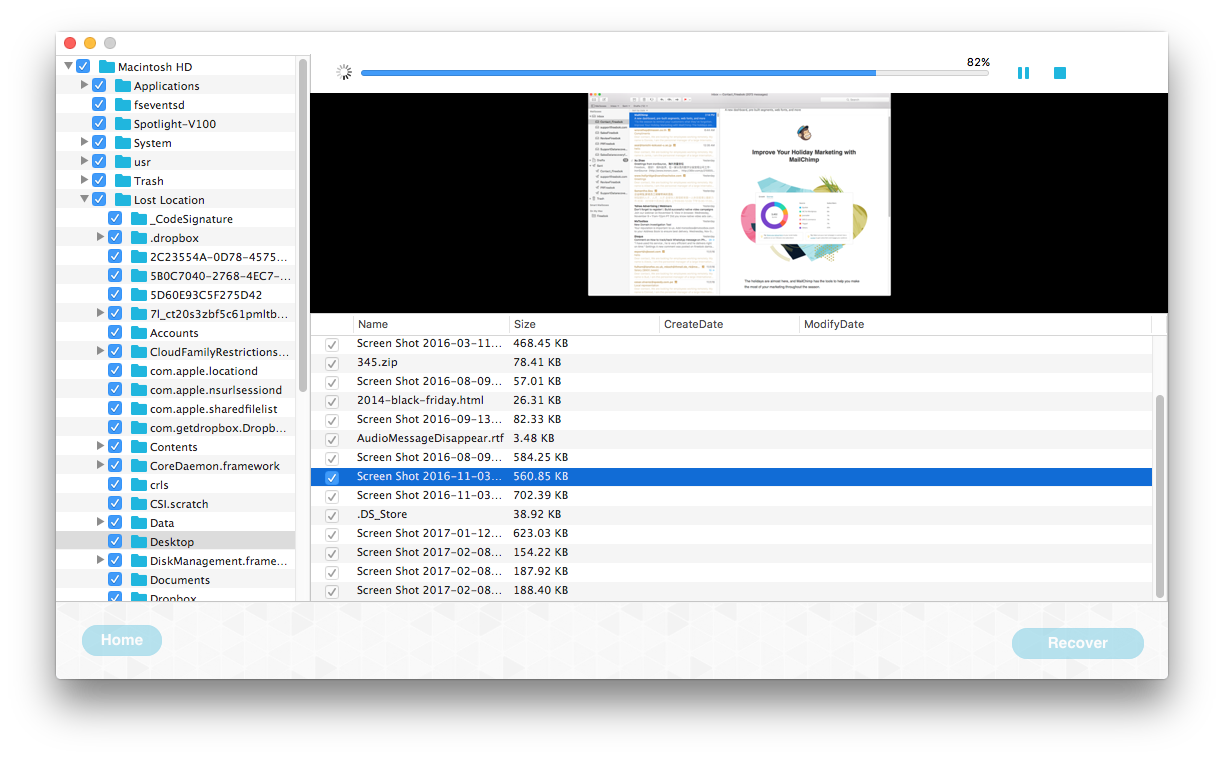
Lunch Data Recovery from /Applications folder, and then enter the computer passcode. Select the volume of Macintosh HD disk, and click Delete or Deep recovery mode, and click Start Scan button to start.
After the scan is complete, select the lost files and documents to be recovered for preview, and then click the "Recover" button to save the selected data.
Conclusion:
Losing files during a macOS update can be a distressing experience, but with a systematic approach, there are ways to recover them. By checking the Mac Trash, exploring application cache files, inspecting iCloud archives, and employing a reliable data recovery tool, users increase their chances of successfully retrieving lost files after updating to macOS Ventura or Sonoma. Always exercise caution and create backups to mitigate the risk of data loss in future updates.
| More Related Articles | ||||
 |
1. How to fix your macOS system storage is so huge 2. How to Remove Unwanted Startup Items on Mac? |
|||
About Fireebok Studio
Our article content is to provide solutions to solve the technical issue when we are using iPhone, macOS, WhatsApp and more. If you are interested in the content, you can subscribe to us. And We also develop some high quality applications to provide fully integrated solutions to handle more complex problems. They are free trials and you can access download center to download them at any time.
| Popular Articles & Tips You May Like | ||||
 |
 |
 |
||
| Five ways to recover lost iPhone data | How to reduce WhatsApp storage on iPhone | How to Clean up Your iOS and Boost Your Device's Performance | ||