Have you ever encountered a situation where you can’t delete a folder from the Trash on your Mac? Recently, some Mac users have reported that they’re unable to remove folders and subfolders from the Trash — even when using Delete Immediately or Empty Trash, the deletion fails. A warning message usually pops up saying that the folder “can’t be removed because it’s in use” or gives a similar reason.
Some users also report that after attempting to delete the folder, it reappears in the Trash. If you’re looking for solutions to this issue, this article will guide you through how to resolve the problem and successfully remove folders stuck in Trash on your Mac.
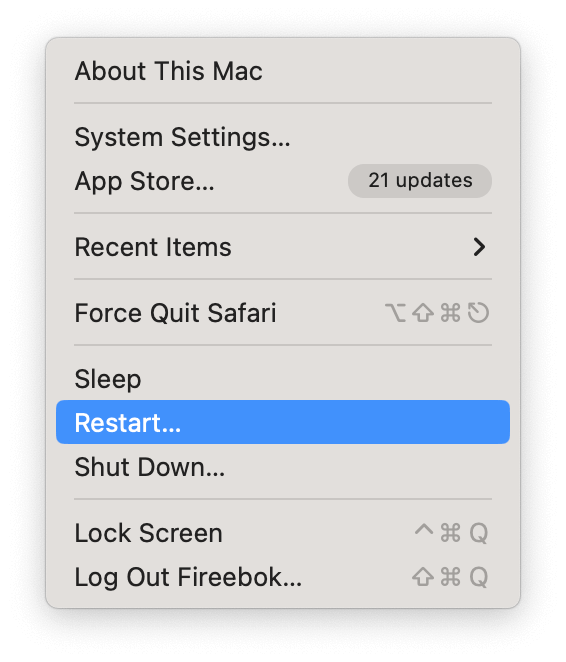
1. Restart Your Mac
Sometimes simply restarting your Mac can resolve system or file lock issues that prevent folders from being deleted. After restarting, try emptying the Trash again.
2. Start in Safe Mode
Booting your Mac into Safe Mode can help fix issues caused by third-party extensions or system conflicts. To start in Safe Mode:
• Restart your Mac and hold down the Shift key immediately after turning it on.
• Once in Safe Mode, try to empty the Trash. Then restart normally and check if the folder is gone.
3. Check the Folder’s Original Location
Before deleting a folder from the Trash, it can be helpful to know where it originally came from. This information might reveal which application created it and help you remove it properly.
However, once a folder is moved to the Trash, its location will typically appear as /Users/[username]/.Trash when you use Get Info. To get more detailed source information, you can use a third-party app like Better Trash, a Mac trash management tool that can show you the original location before files are moved to Trash.
How to use Better Trash:
• Download and install Better Trash on your Mac. Add Better Trash to your Full Disk Access list: go to System Settings/System Preferences -> Security & Privacy -> Privacy -> Full Disk Access, and add the app to get read and write permissions to access the Trash.
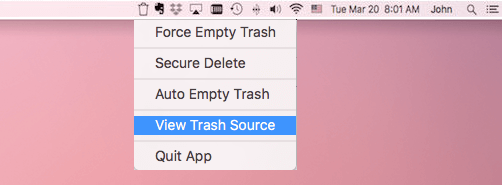
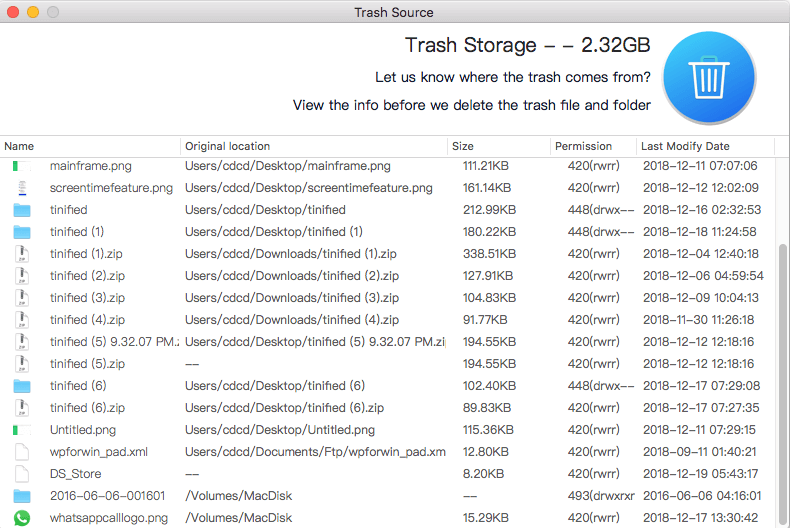
• Open Better Trash and click the menu bar icon at the top of your screen. Choose View Trash Source to see the original locations of all files and folders currently in the Trash.
• It will display the trash item's file name, original location, file size, file permissions, date it was added to the trash.
4. Use Better Trash to Force Delete
Better Trash also provides a Force Empty Trash feature, which can powerfully delete files and folders that won’t otherwise be removed.
To use it:
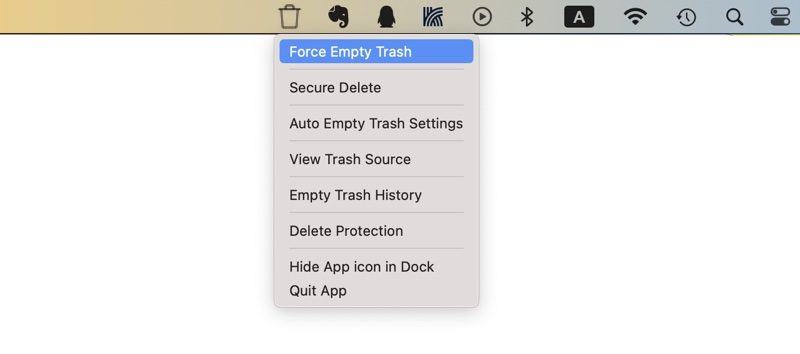
• Open Better Trash and click its menu bar icon.
• Select Force Empty Trash, then the app will then process and permanently remove all items in the Trash.
| More Related Articles | ||||
 |
1. How to sync all your bookmarks on different browsers on Mac? 2. How to fix your macOS system storage is so huge |
|||
About Fireebok Studio
Our article content is to provide solutions to solve the technical issue when we are using iPhone, macOS, WhatsApp and more. If you are interested in the content, you can subscribe to us. And We also develop some high quality applications to provide fully integrated solutions to handle more complex problems. They are free trials and you can access download center to download them at any time.
| Popular Articles & Tips You May Like | ||||
 |
 |
 |
||
| Five ways to recover lost iPhone data | How to reduce WhatsApp storage on iPhone | How to Clean up Your iOS and Boost Your Device's Performance | ||