If you're a video content creator who frequently uses a camera to shoot large volumes of footage, you’ve probably encountered this challenge: how do you efficiently store and manage all your videos? Video files are typically large and take up significant storage space, so you need a workspace that allows for easy editing with software like iMovie, Final Cut Pro, or Adobe Premiere Pro. Additionally, it’s essential to have a way to quickly locate specific files and back up your original footage. In this guide, we’ll walk you through the best practices for storing and managing large video libraries on a Mac.
In this article, we’ll walk you through several solutions to fix the issue and safely open your files.
Best Storage Options for Videos on Mac
1. External Hard Drives or SSD
For creators working with high-resolution video, a USB-C/Thunderbolt external hard drive or solid-state drive (SSD) with fast reading speed and large capacity between 4TB and 24TB is highly recommended.
• Format the drive as Mac OS Extended (Journaled) or APFS (for macOS 10.13 and newer) to ensure full compatibility with your Mac.
• External drives offer fast read/write speeds and are ideal for editing video directly from the drive.
2. Network-Attached Storage (NAS)
Set up a NAS system (e.g., Synology or QNAP) for your home or studio to allow remote access, file backups, and sharing capabilities.
• NAS devices support Finder access via the SMB protocol, making the experience feel similar to working with local files.
• They are especially useful for collaborative editing workflows or archiving large projects.
3. Cloud Storage Solutions
Cloud services like iCloud Drive, Google Drive, or Dropbox are convenient for syncing frequently used video files across devices.
• However, keep in mind that uploading and downloading large video files can be slow and heavily dependent on your internet connection.
• Cloud storage is best for smaller files or essential footage you need to access on the go.
How to Efficiently Manage Video Files on Mac
1. Add Metadata Tags and Rename Files
Use Media Meta application to edit video metadata and rename video files, download and install Media Meta on your Mac.
• import video files into Media Meta, and batch add video metadata tags: like title, ablum or description and more, then use them as video capture events in the following renaming step.
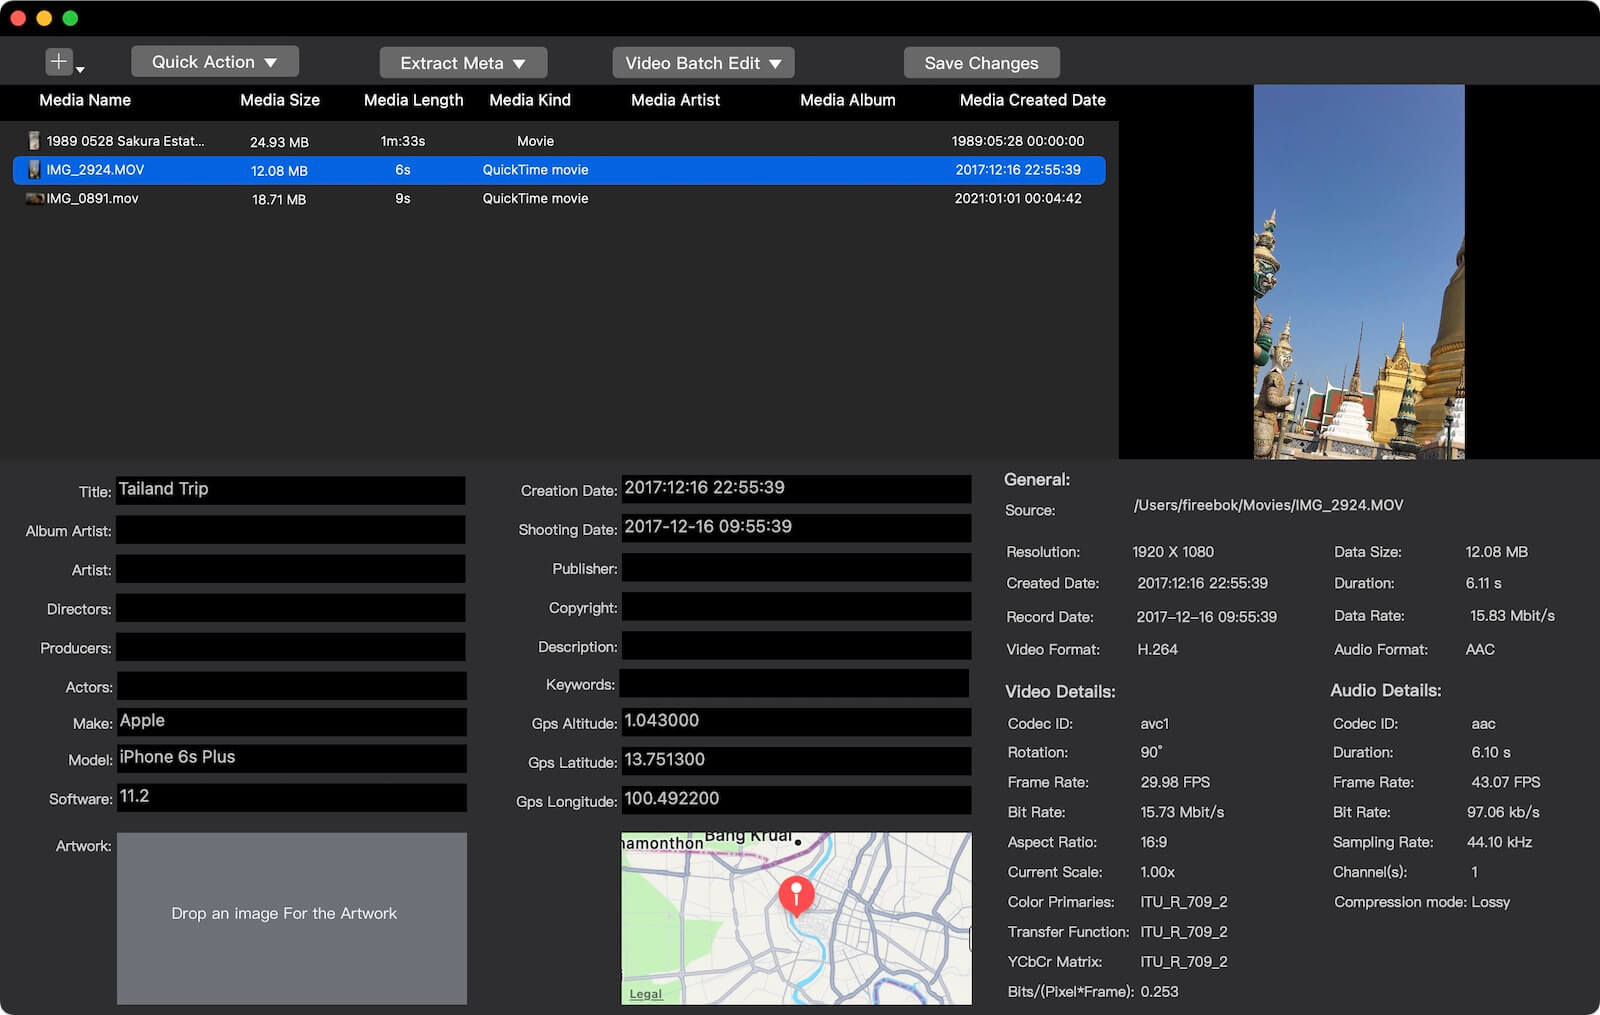
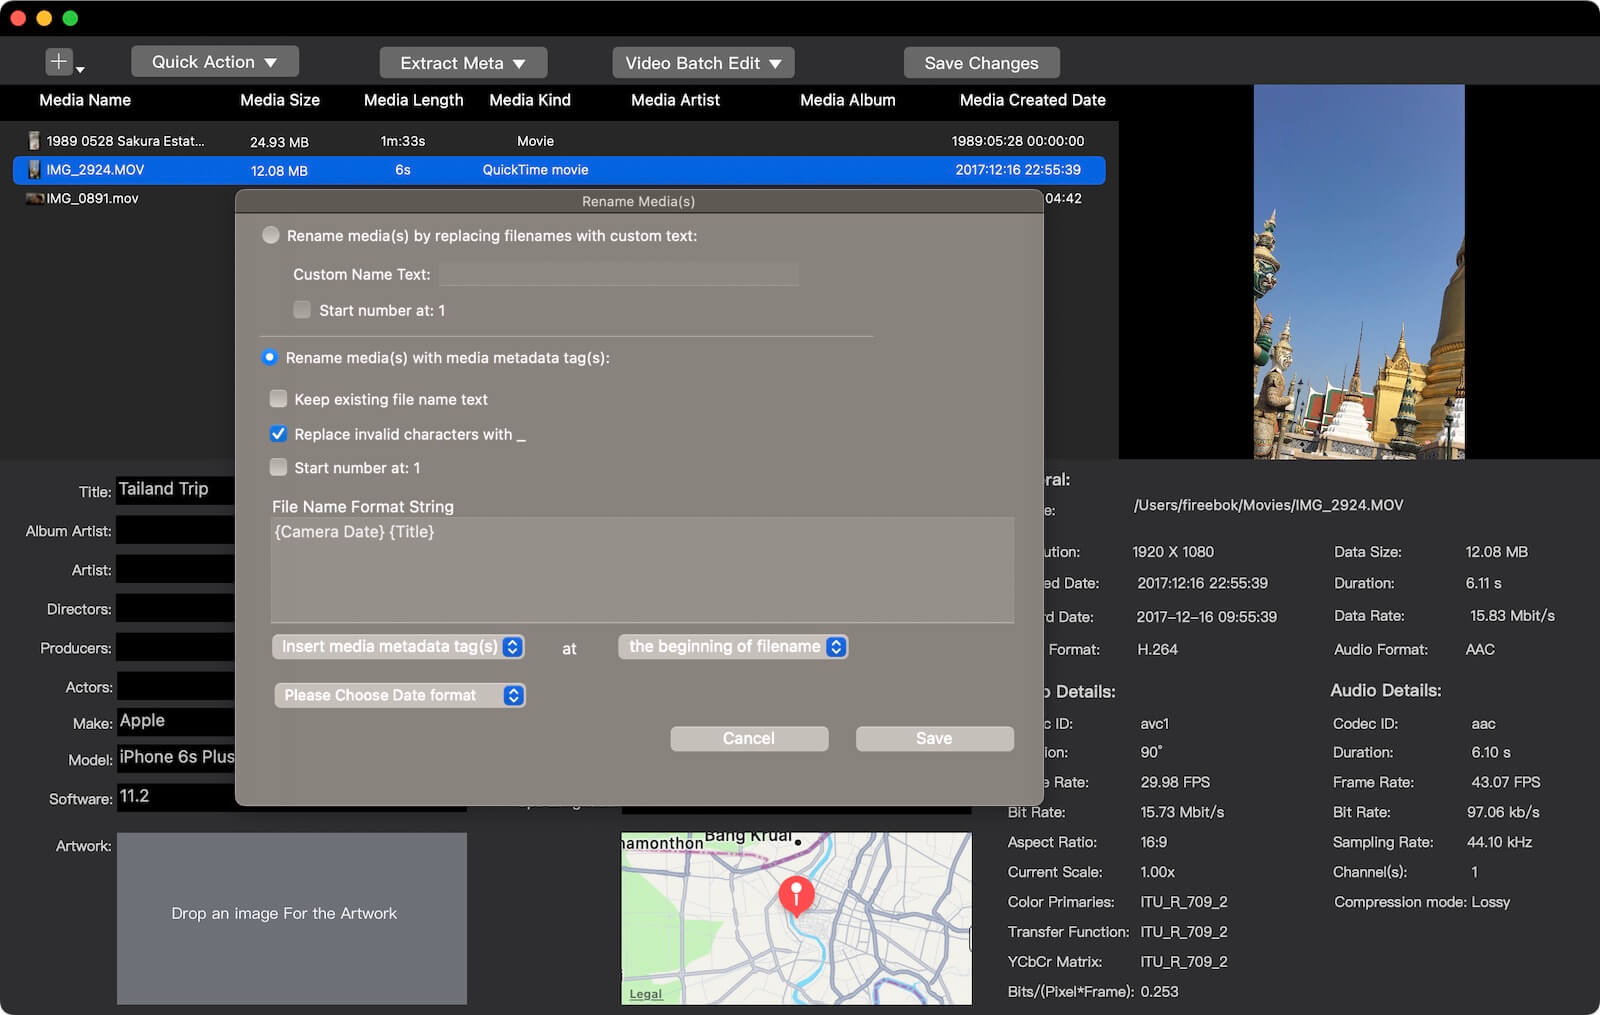
• Select Quick Action -> Rename selected media files, insert Camera Date, and above added video metadata tag using a consistent format like “Shooting Date – Video Event”, which can greatly improve the efficiency of searching videos.
• In addition, Media Meta can also batch modify video artwork, videos GPS data, keywords, etc., convert video formats, and export/import metadata in JSON/CSV format, etc.
2. Use smart folders and folder structures in Finder
Create a well-structured folder hierarchy in Finder based on the video file name, shooting date + video event.
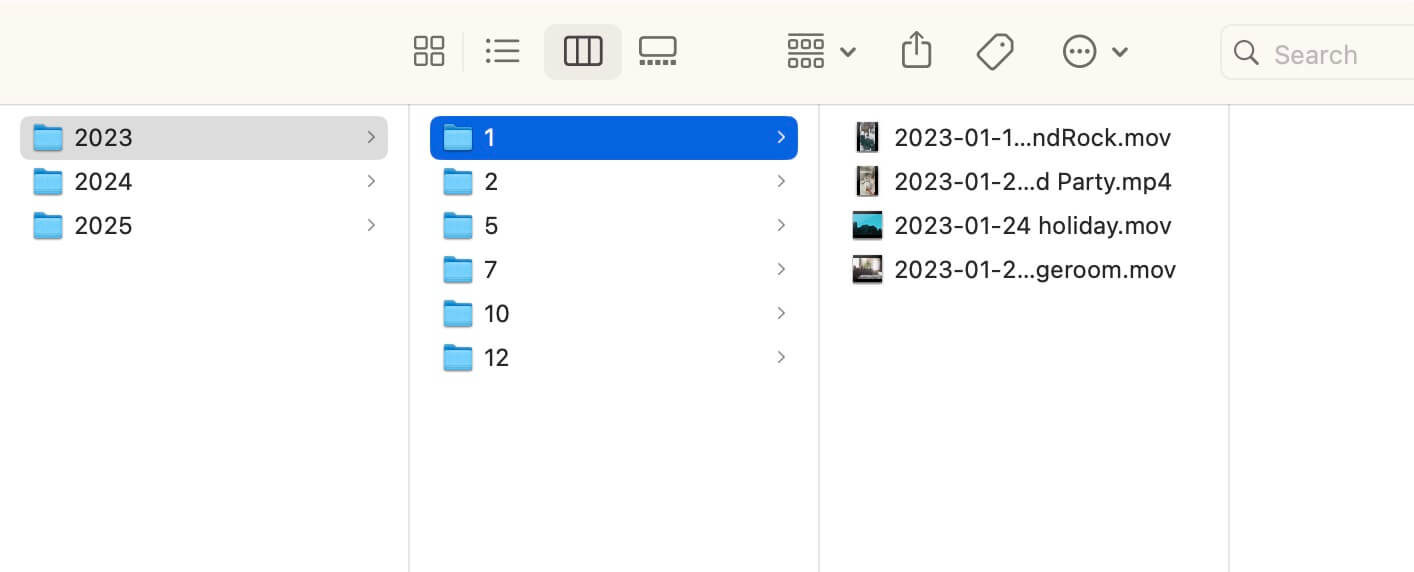
• Use Smart Folders to automatically gather video files by type (e.g., .mp4, .mov) and sort them by Date Added, File Size, Resolution, or other metadata.
• This helps streamline your workflow and makes it easier to find videos without manually browsing through folders.
With the right combination of hardware storage and smart organization, managing some large videos on your Mac doesn’t have to be overwhelming. Whether you're editing short clips or archiving long-form projects, following these practices will help keep your workflow smooth and your files safe.

About Fireebok Studio
Our article content is to provide solutions to solve the technical issue when we are using iPhone, macOS, WhatsApp and more. If you are interested in the content, you can subscribe to us. And We also develop some high quality applications to provide fully integrated solutions to handle more complex problems. They are free trials and you can access download center to download them at any time.
| Popular Articles & Tips You May Like | ||||
 |
 |
 |
||
| Five ways to recover lost iPhone data | How to reduce WhatsApp storage on iPhone | How to Clean up Your iOS and Boost Your Device's Performance | ||